Setting up ELK on my MacBook (Part 2)
Now that I have Elasticsearch and Kibana up and running, I need to start feeding in those sweet, sweet logs. Normally, one would setup LogStash to import these logs into Elasticsearch but those clever cats at Elastic have created Beats to help. Beats is the platform for single-purpose data shippers. They install as lightweight agents and send data from hundreds or thousands of machines to Logstash or Elasticsearch. In this post I am going to cover installing winlogbeat and packetbeat on my Windows 10 VM and configuring them to talk to my Elasticsearch running on my MacBook.
0. Virtual Machine Setup
Although not extremely important to the process below, here is the high level notes about the VM:
- OS Name: Microsoft Windows 10
- OS Version: 10.0.14393 N/A Build 14393
- System Model: VirtualBox
- System Type: x64-based PC
- Total Physical Memory: 2,048 MB
- Installed Software:
- Sysmon v6.0
- Chrome Version 57.0.2987.98 (64-bit)
- Notepad++ 7.3.3
- WireShark Version 2.2.5 (v2.2.5-0-g440fd4d)
- Greenshot 1.2.9.129
1. Download WinLogBeat
I grabbed my copy (5.2.2) from https://www.elastic.co/downloads/beats/winlogbeat
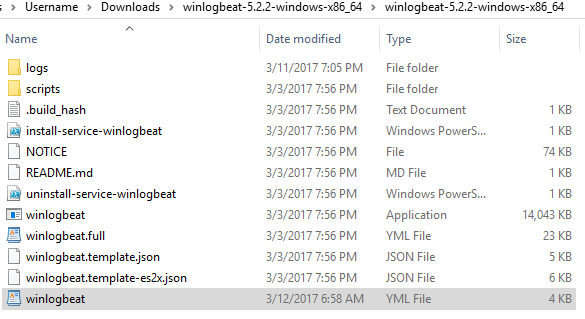
2. Unzip and configure WinLogBeat
Should look like this:
We need to edit the winlogbeat.yml before we install the service.
2.1 Edit the Logs WinLogBeat is listening to
I changed the default config from this:
winlogbeat.event_logs:
  - name: Application
    ignore_older: 72h
  - name: Security
  - name: System
to include sysmon and a few of the other bigger logs from this Windows 10 machine:
winlogbeat.event_logs:
  - name: Application
    ignore_older: 72h
  - name: Security
  - name: System
  - name: Microsoft-Windows-Sysmon/Operational
  - name: Microsoft-Windows-Store/Operational
  - name: Windows PowerShell
2.2 Configure network settings for Elasticsearch
On my MacBook I have Elasticsearch configured to run on 0.0.0.0:9200 which means port 9200 on all network interfaces including the network interface VirtualBox setup for the default gateway for the VM.
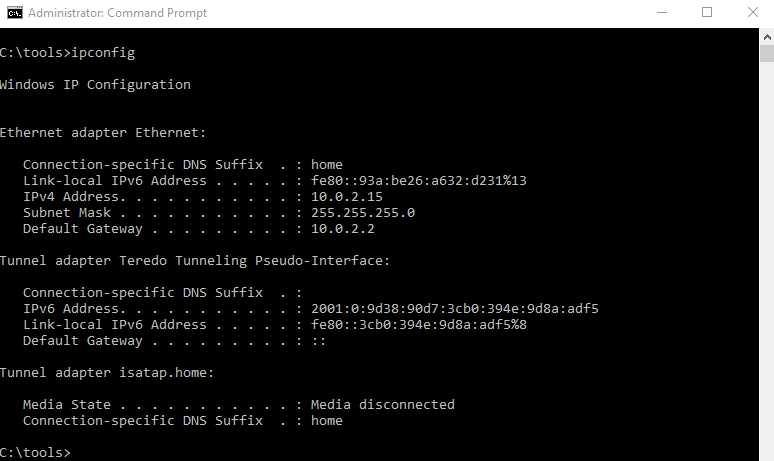
A quick check of the VM’s network info tells me the default gateway is 10.0.2.2. So I changed:
#-------------------------- Elasticsearch output ------------------------------
output.elasticsearch:
  # Array of hosts to connect to.
  hosts: ["localhost:9200"]
To:
#-------------------------- Elasticsearch output ------------------------------
output.elasticsearch:
  # Array of hosts to connect to.
  hosts: ["10.0.2.2:9200"]
I had to change this file again to include authentication creds when I installed the XPACK plugin but I will get there in another post. Baby steps people. Baby steps.
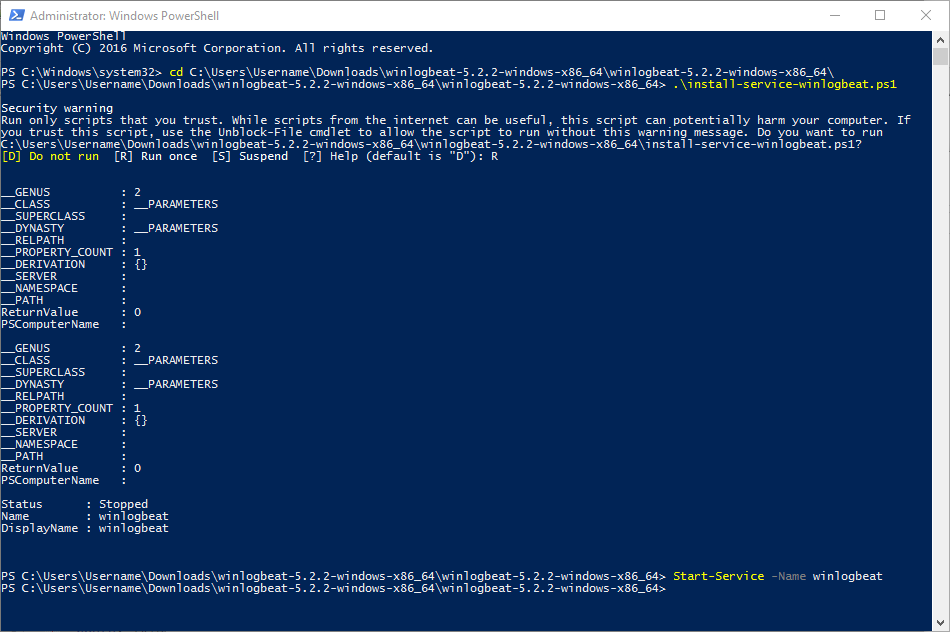
3. Install WinLogBeat
Included in the WinLogBeat files is a handy dandy install-service-winlogbeat.ps1 that does the heavy lifting for installing the WinLogBeat service. Simply Run that file and then start the service.
 Now you should be sending logs from WinLogBeat to Elasticsearch. To confirm, check out the terminal window running Elasticsearch and you should see something like this:
[2017-03-12T18:07:59,156][INFO ][o.e.c.m.MetaDataMappingService] [Bo2nJmM] [winlogbeat-2017.03.12/Du3zdxHXQvivwrVBi6czJQ] update_mapping [wineventlog]4. Configure Kibana to index WinLogBeat logs
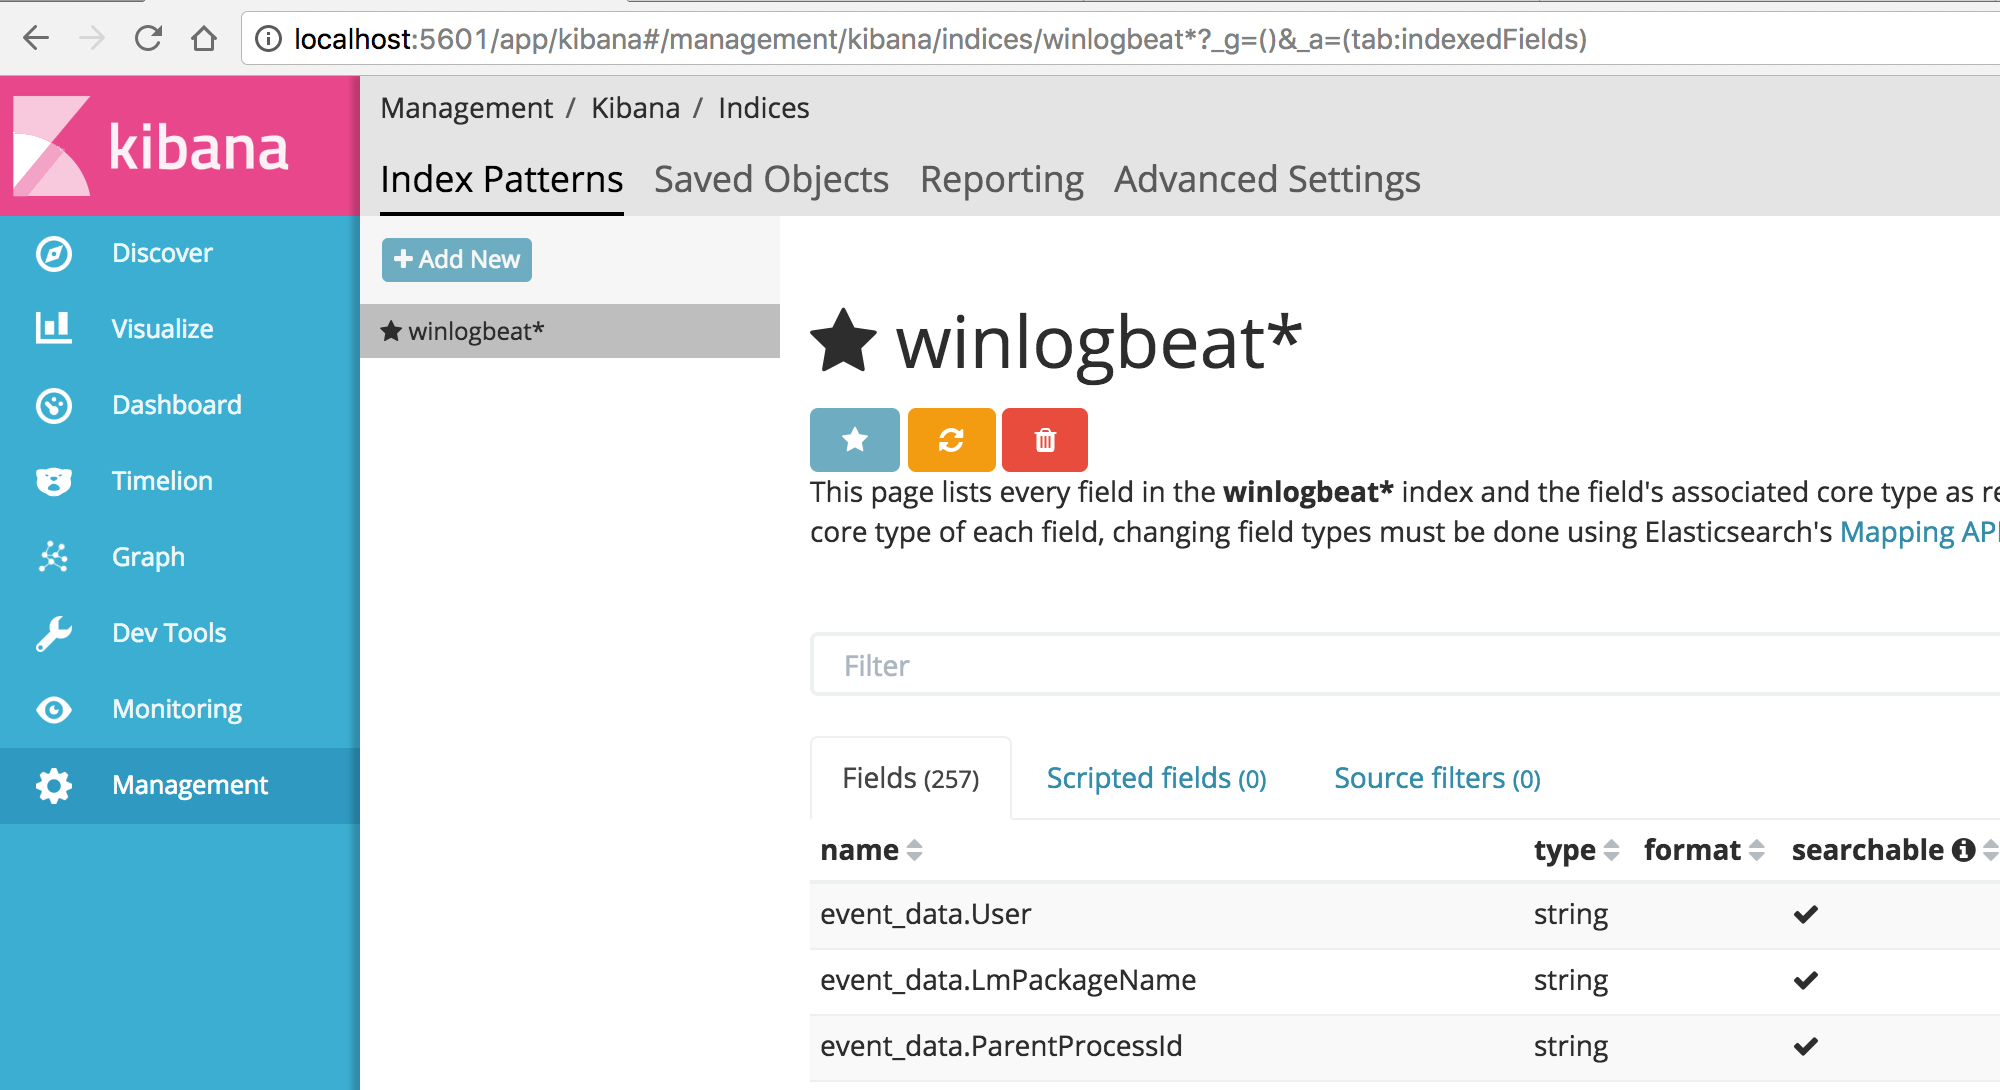
Now that logs have a freely flowing into Elastic, it is time to update Kibana with an index. Under management, go to Index Patterns.
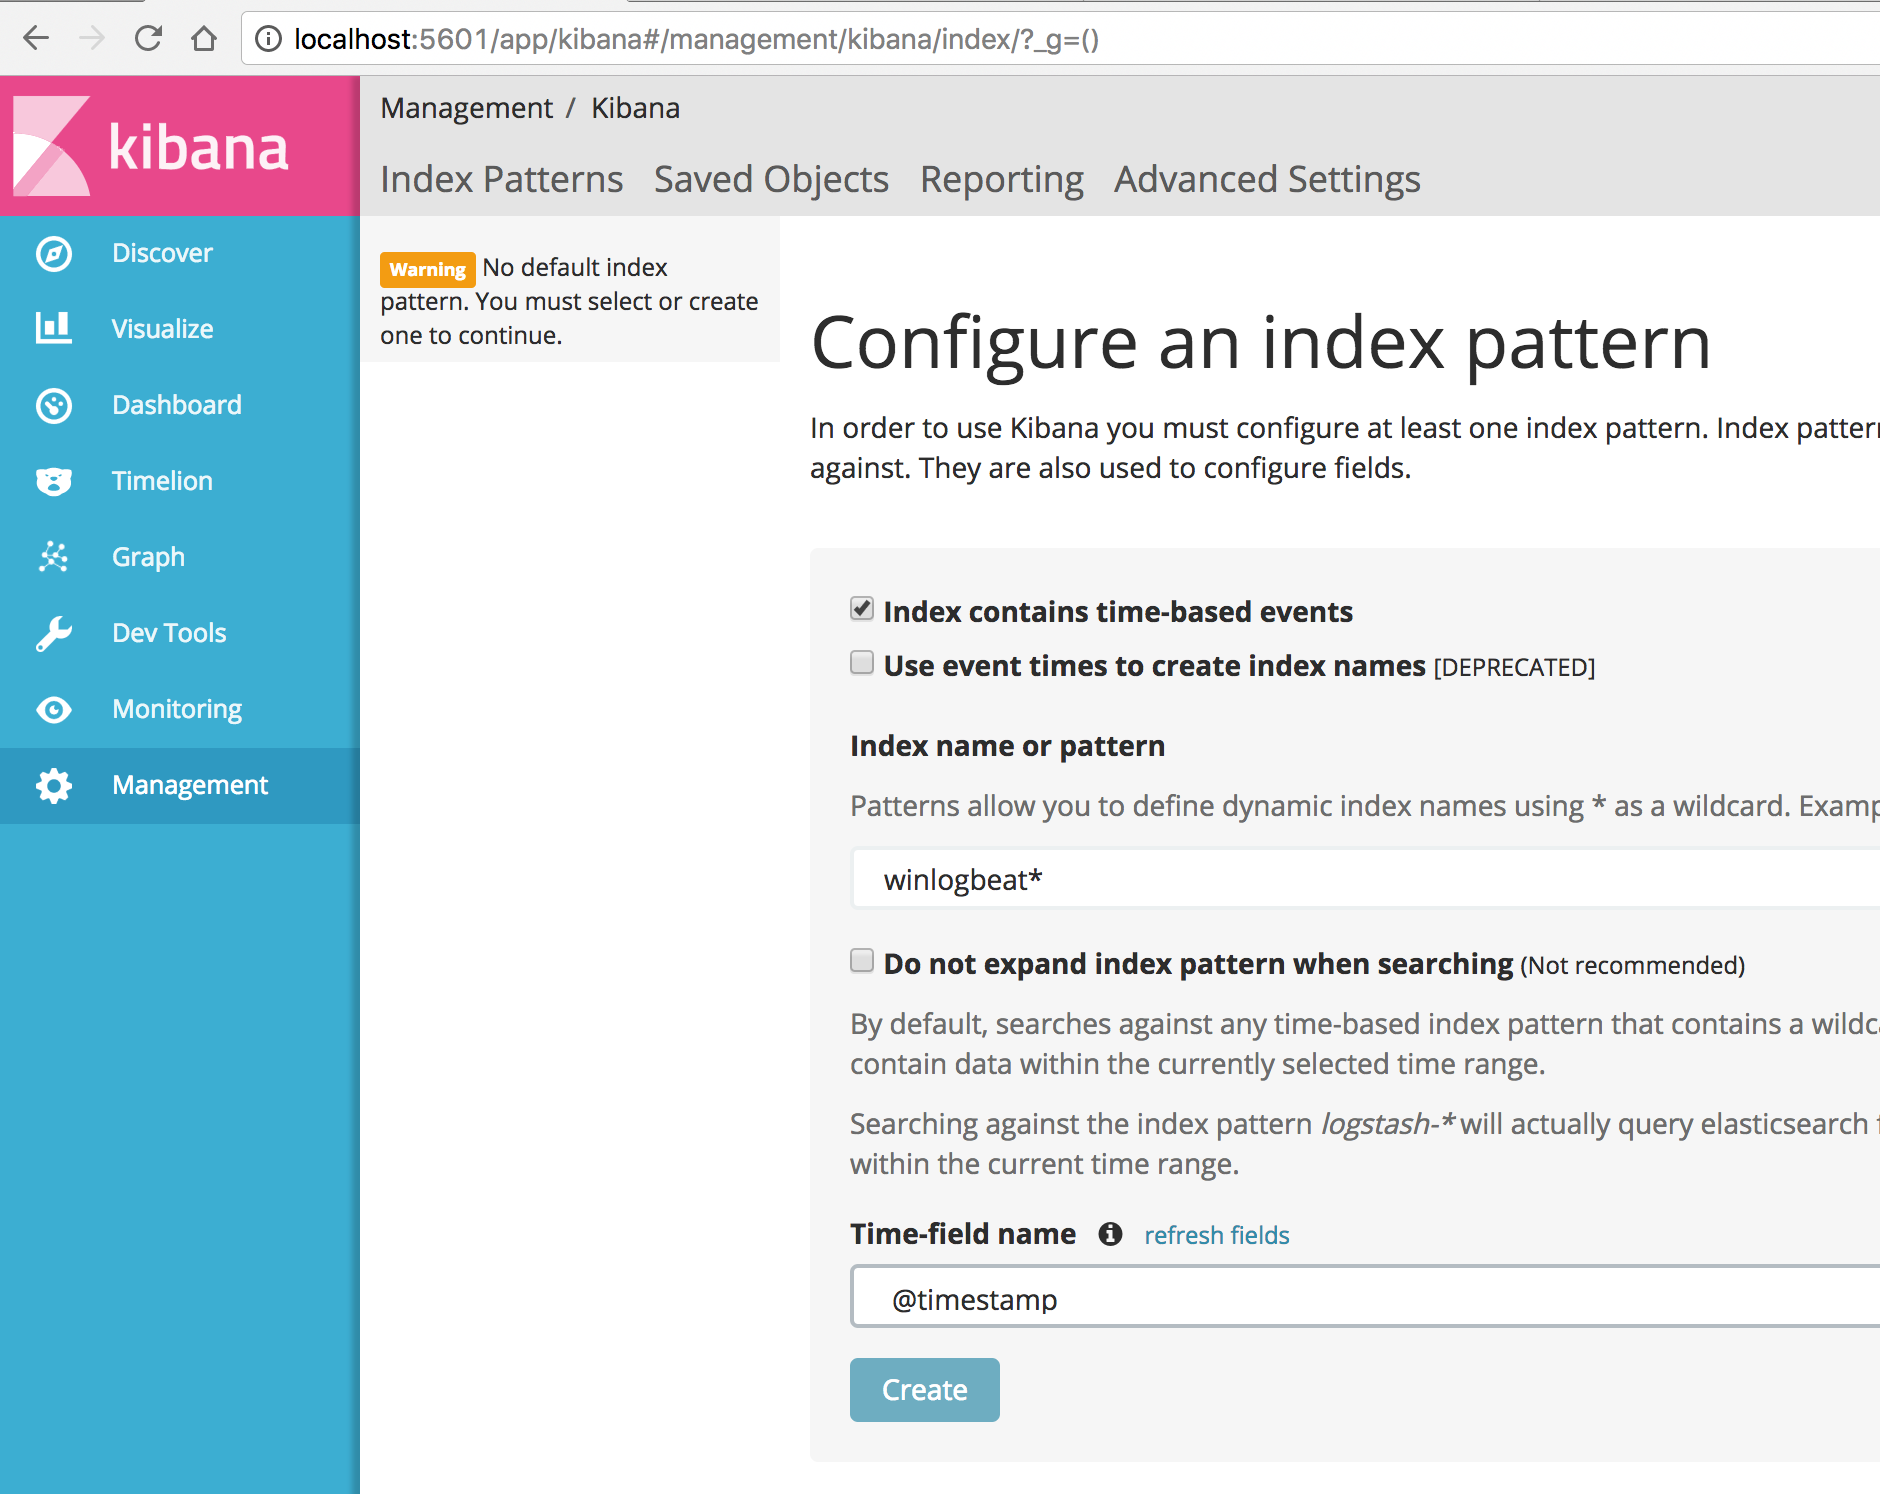 In the field, put “winlogbeat*” to start indexing these logs.
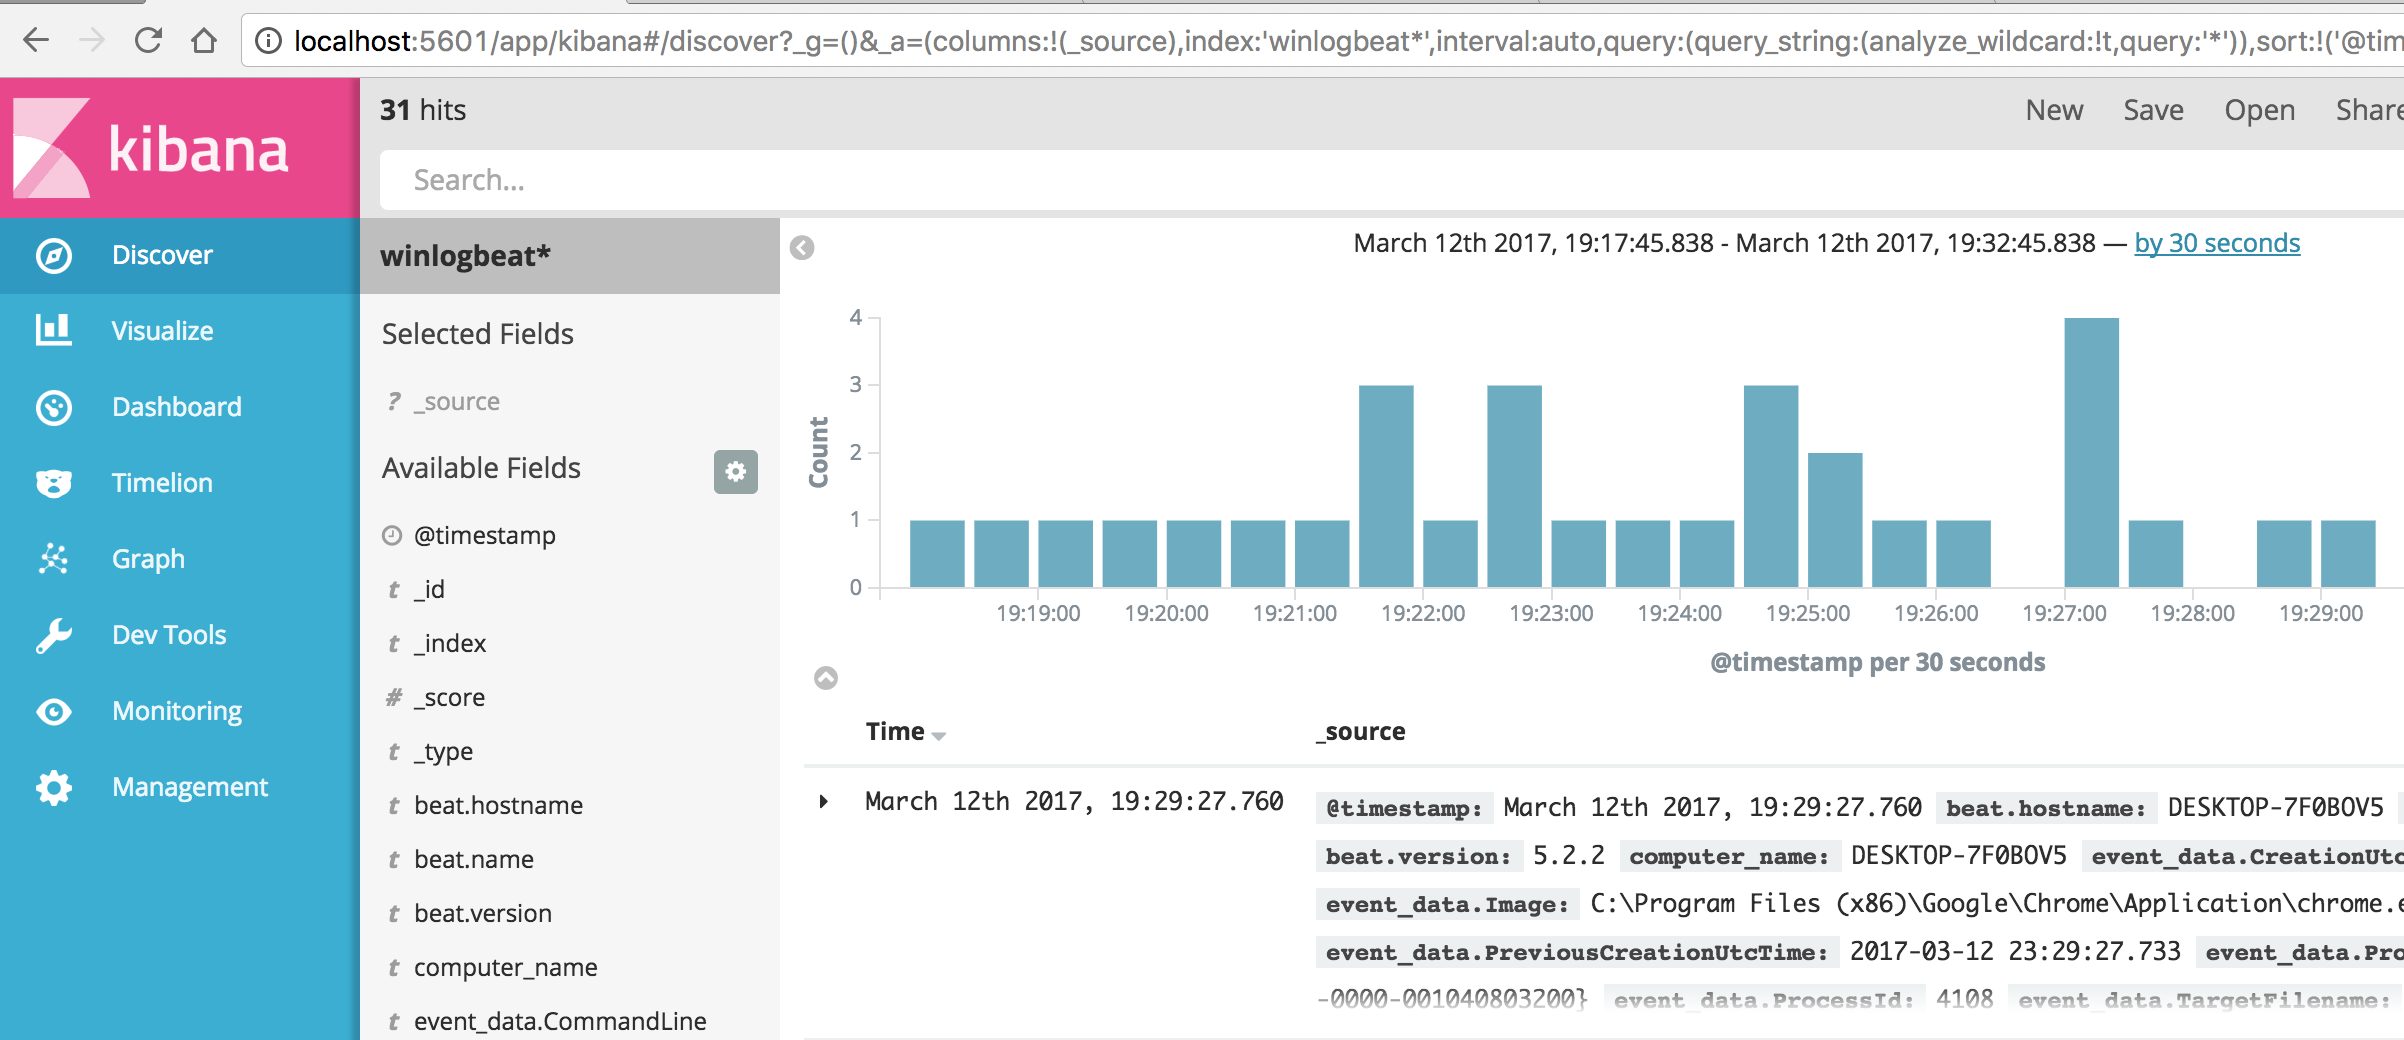
 Then click on discover and BOO YAH we have logs.
5. Download, Configure, and Install PacketBeat The Same Way
Download PacketBeat from here. PacketBeat on Windows does require a prior installation of WinPcap. I installed WireShark and opted to install WinPcap at the same time. You do what you feel is best. After you extract the packetbeat package on the Windows guest, configure the packbeat.yml to point to the Elasticsearch on the MacBook. Change:
#-------------------------- Elasticsearch output ------------------------------
output.elasticsearch:
  # Array of hosts to connect to.
  hosts: ["localhost:9200"]
To:
#-------------------------- Elasticsearch output ------------------------------
output.elasticsearch:
  # Array of hosts to connect to.
  hosts: ["10.0.2.2:9200"]
I also had to change this file again to include authentication creds when I installed the X-Pack plugin but I will get there in the aforementioned post.
Next Post?
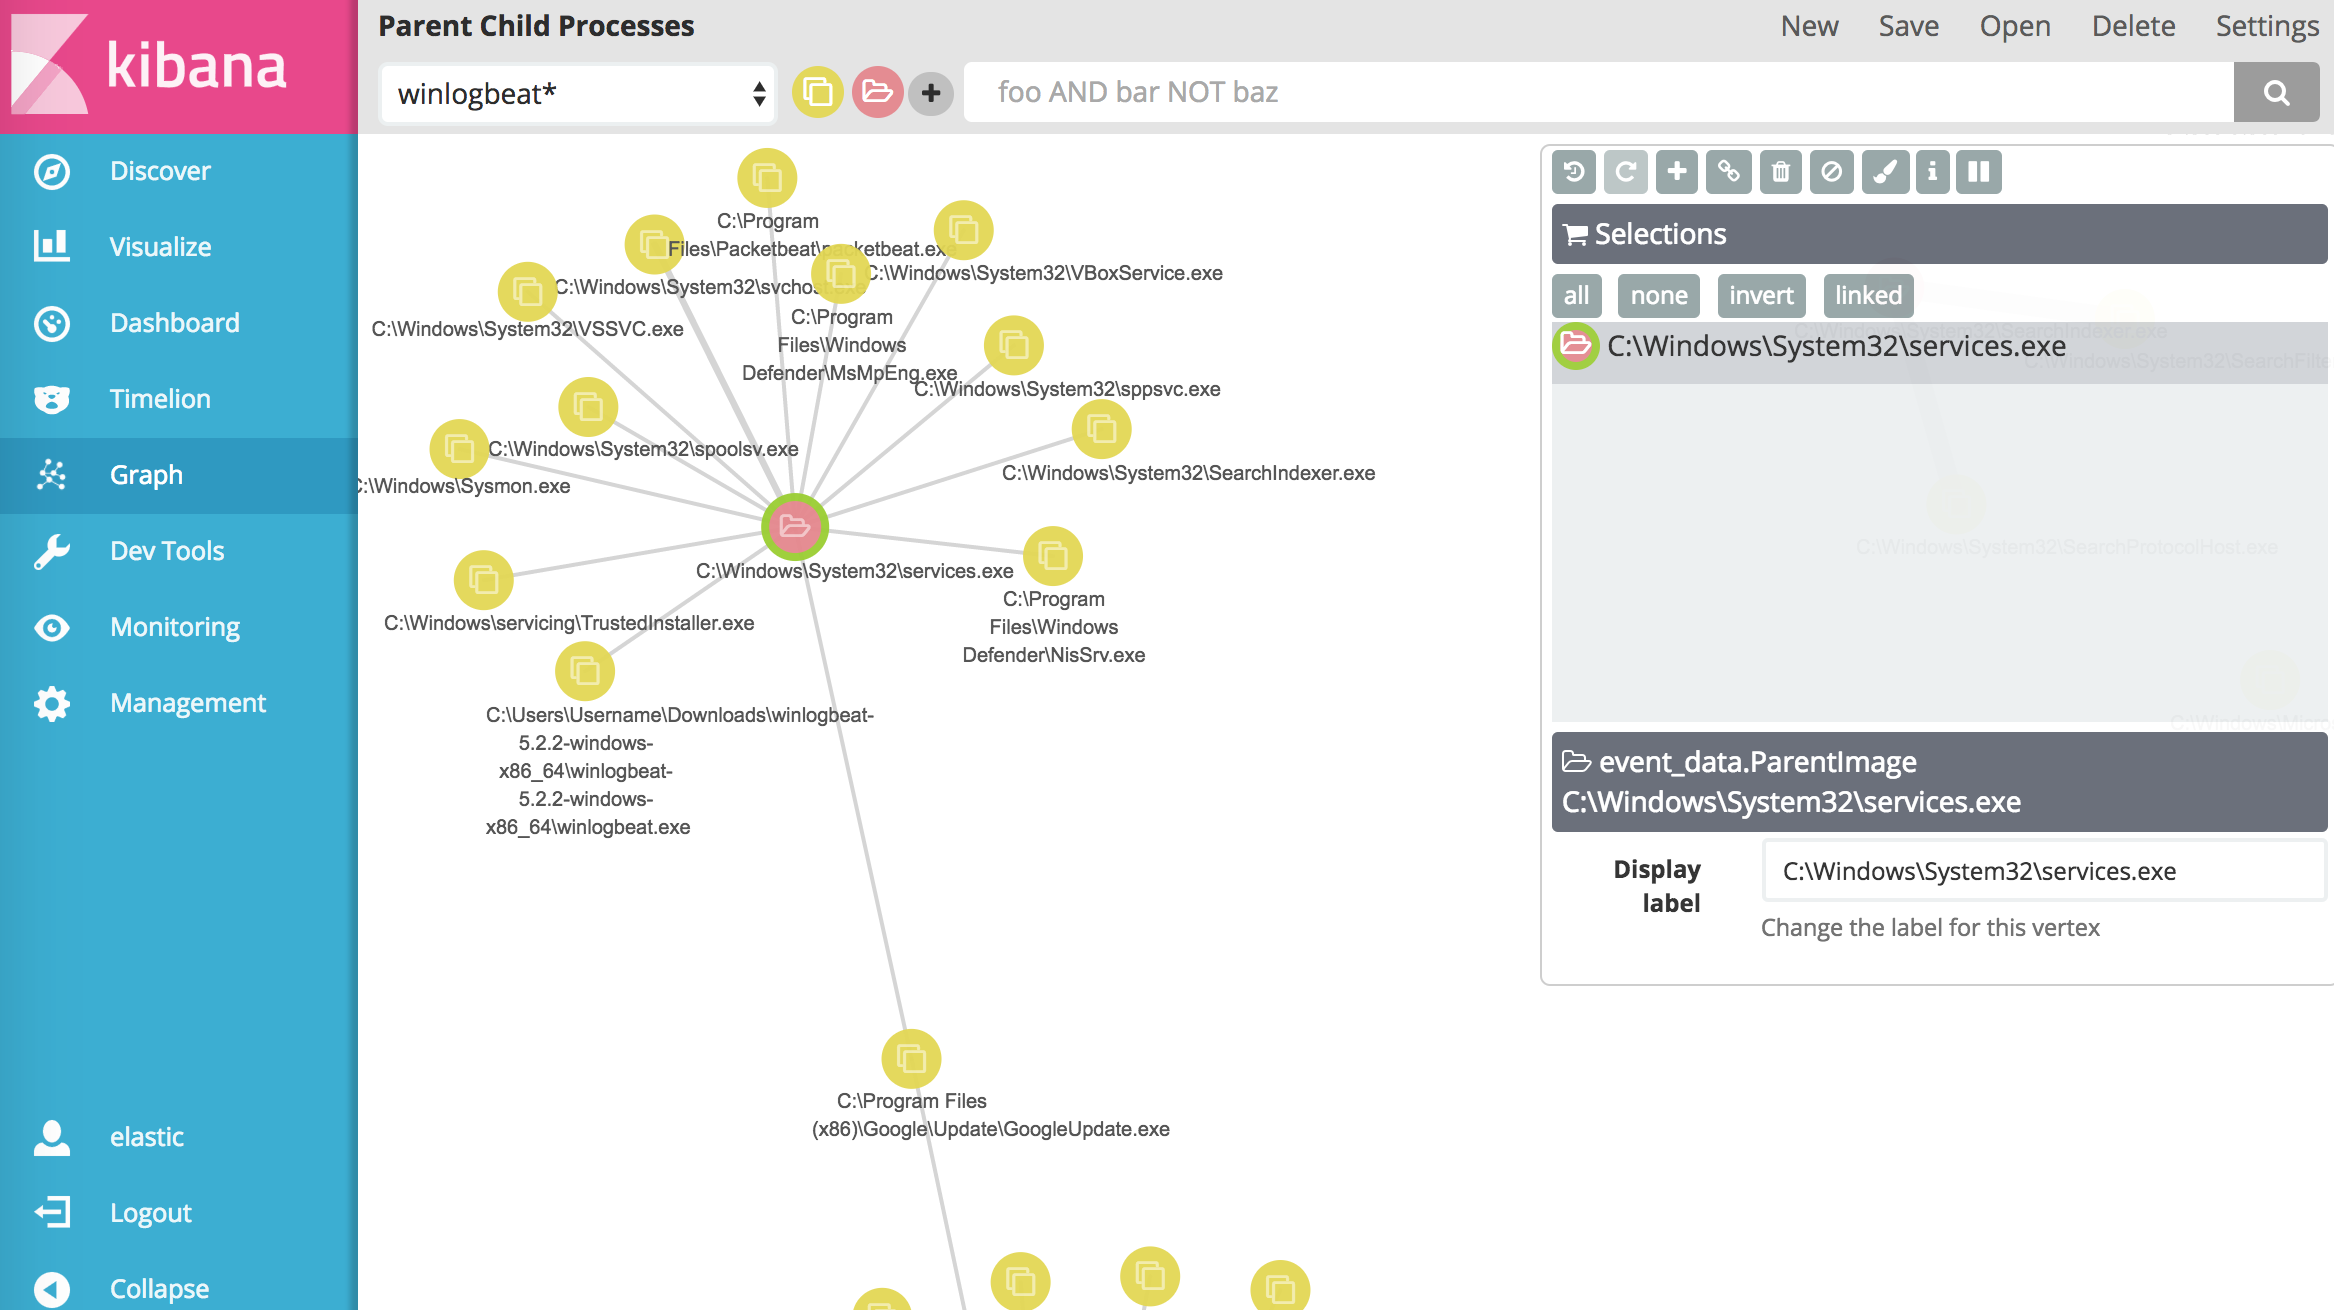
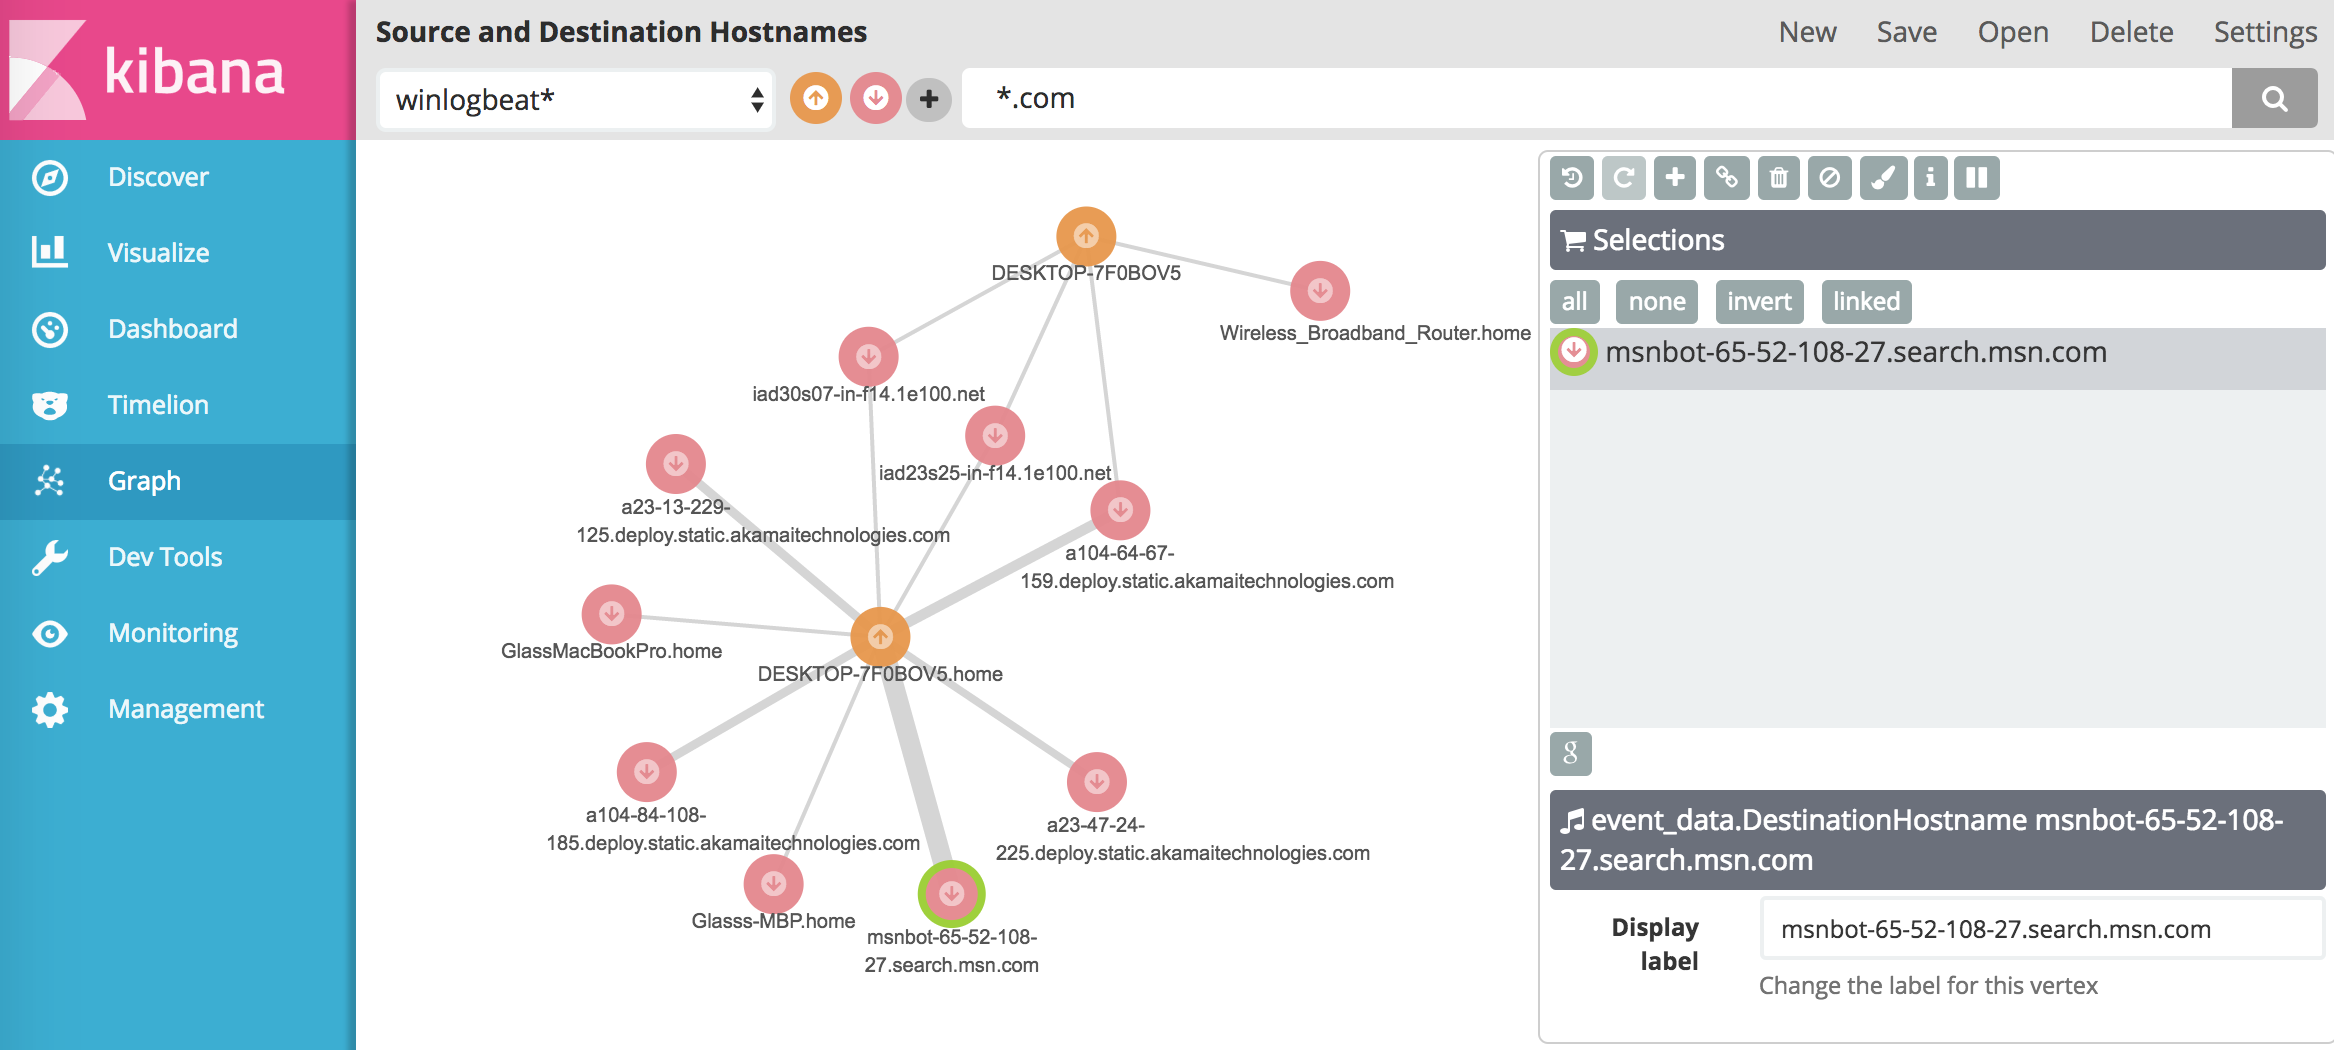
So there you have have it. In my next post I will cover installing the X-Pack plugin and dig into some of the modifications I made to the Graph plugin to make my logs looks like this:
 and THIS …